
ASIAN STYLING

Poodles
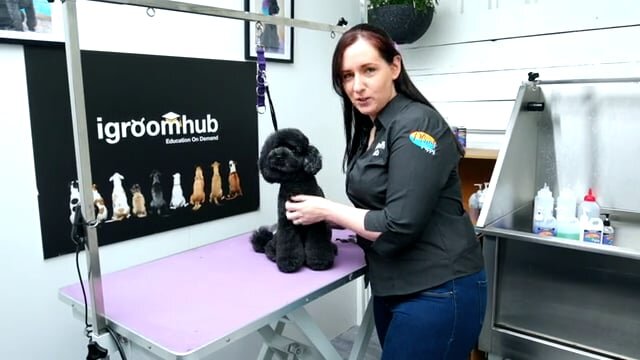
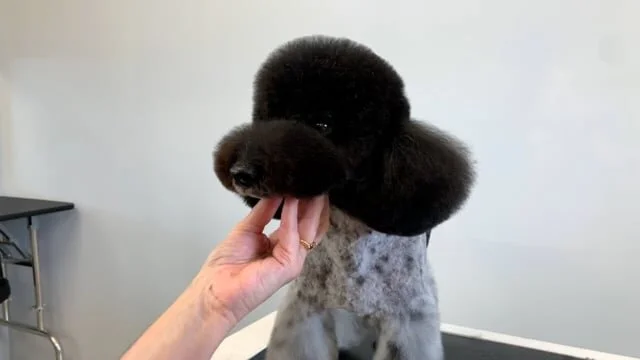
BETTY
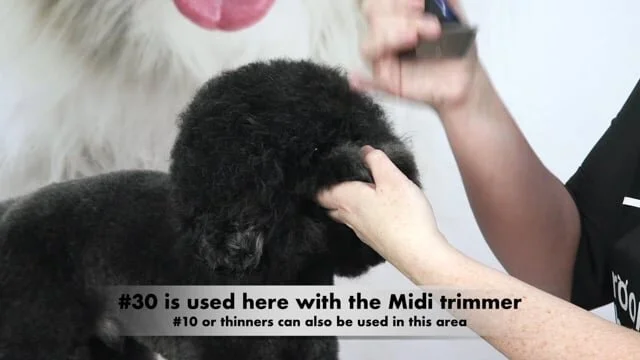
Chuckie explores some Asian Fusion style on Betty the Toy Poodle. This series from Chuckie demonstrates scissoring and clipping techniques on a well brushed and clean dog. This clip works well for owners who are not fantastic at brushing! Chuckie starts the groom at the dog's jacket by separating the head study from the body. For good measure, Chuckie includes a love heart!

Part 1 The Jacket
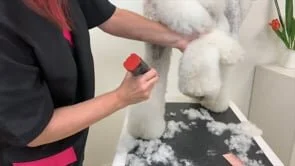
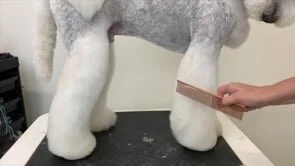
Part 2 Setting in the front legs
Part 3 Setting in the back legs with scissors and clippers, and placing a small pom pom on the tail
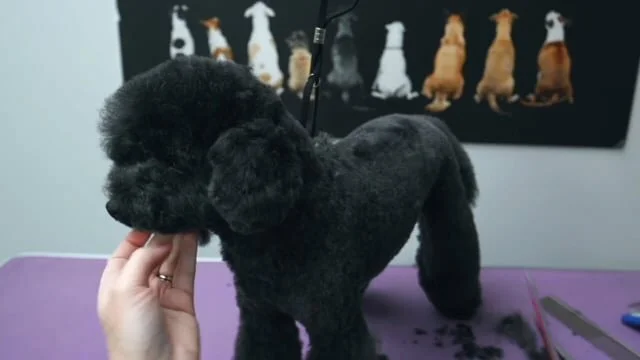
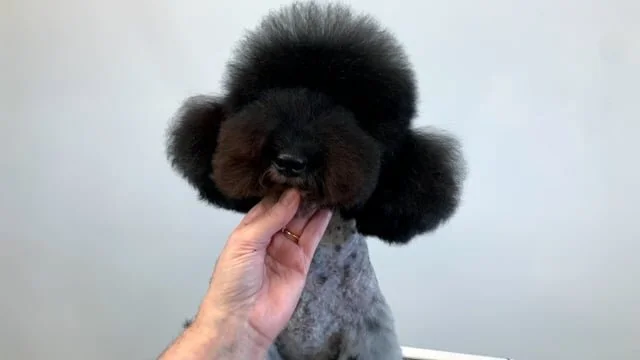
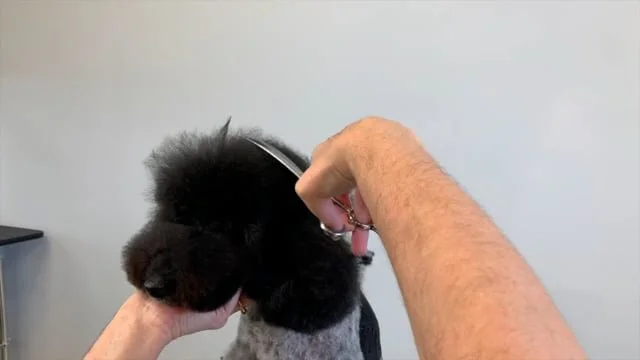
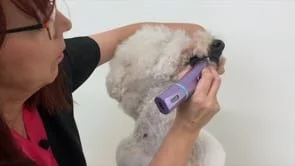
Part 4 The Head Study - a short mushroom head
JIMMY
Jimmy, one of our regulars, is back! Michelle and Jimmy show us a gorgeous Asian Fusion inspired asymmetrical head.

Part 1 Great prep and using an extension comb on top of the head will help set in pattern lines.
Part 2 Time to scissor in lines on the crest and ears. Thinning shears will be used to blend and contour.
Part 3 If you do not own curved thinners, now is a great time to invest in them. Michelle uses these scissors to blend and style, leaving Jimmy with a perfect symmetrical face and head.
FULL FEATURE
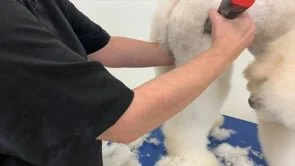
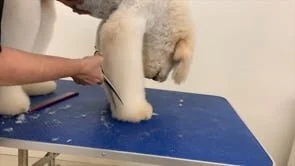
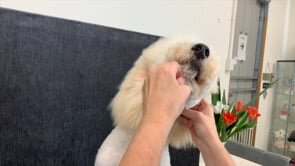
BRONSON
The wonderful Sue Wright does it again with a fabulous Asian Style groom showcasing a Teddy Bear head style with big flared legs, poodle feet and short body. Owners love this trim!
-
To pre-clip or not to pre-clip, that is the million dollar question amongst groomers. In this video Sue demonstrates some advantages of pre-clipping.
Key points:
Setting the pattern for flared legs
Advantages to pre-clipping
Corrective grooming when setting the body line
Setting in poodle feet
How to avoid exposing the bald spots or ‘rosettes’ on the chest when using a short body blade.
-
Here Sue takes you through the finishing clip for the body, tightening the lines for the flared legs and a little trick to avoid getting those pesky bald spots on the chest. As Well as how to set a bevel in with poodle feet.
Key points:
Blending transition lines between short and long hair
Hiding bald spots or rosettes on the chest
Setting a perfect bevel on poodle feet.
-
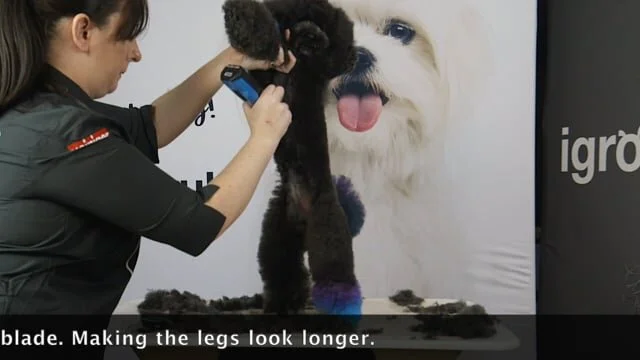
Chunker time! Sue uses Chunkers to blend and soften flared legs and sets in a cute fluffy tail.
Key Points:
Setting the rear flare leg angulation
Using chunkers to help blend and shape
Setting in the tail using the half moon technique
-
Bronson’s family have asked for a low maintenance Teddy head. Sue demonstrates just how to achieve this while keeping the iconic Asian Fusion Teddy styled head.
Key Points:
Clearing the eyes with a 5 in 1
Rounding in the visor
Setting in a balanced donut muzzle
Clearing the lips for a more hygienic muzzle
-
What to look for when setting the top of a Teddy head and donut muzzle on 11 weeks of coat growth.
Key points:
Thinning out overhang on the donut muzzle
Setting in ‘markers’ to see the center on the head
How much topknot should you have?
Blending the back of the head and neck.
-
Trouble getting that perfect round ear on both sides? Sue has a trick for that! With just a wave of her scissor and a few simplified steps you can achieve a bouncy round ear too. Sue also shows how to get an overall smooth finish, setting your grooms apart from others .
Key points:
Setting in a round ear
Tricks to check for symmetry
Techniques on how to get the smoothest finish


ASIA
In this tutorial, Sue Wright grooms her own Standard Poodle, Asia, with an Asian Style influence. It’s her first ‘big girl’ haircut!
Part 1 Body shaping and styling
Part 2 Tail and Flared Legs
Part 3 Flared Legs, Head and finishing
FRANKIE
Sue Wright and Frankie show us there is nothing standard about this amazing Standard Poodle trim!
Part 1 Cutting in the Body
Part 2 Scissoring Legs, Heart and Collar
Part 3 Head and Finishing
JIMMY
PEANUT HEAD
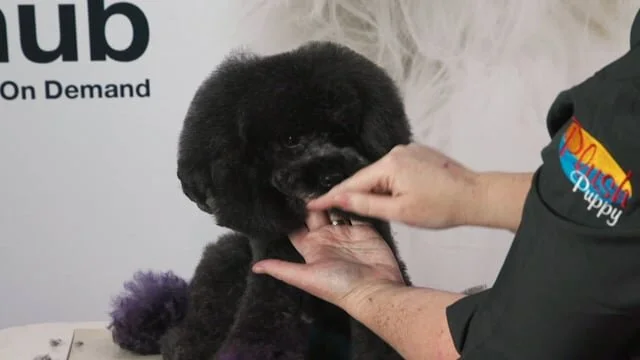
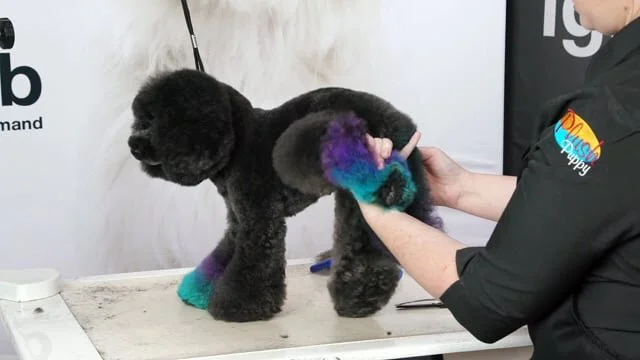
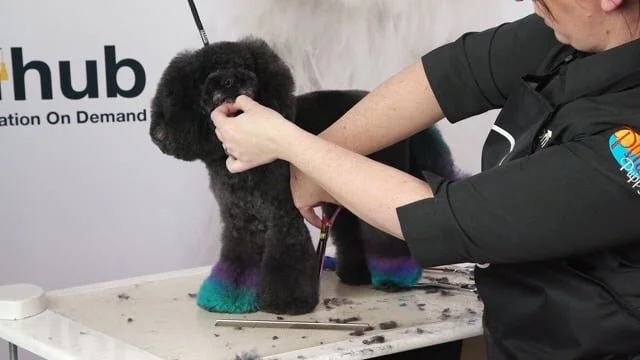
Michelle and Jimmy team up to show us how to fashion a Poodle into a Peanut! Learn this popular Asian Style head trim in these tutorials - plus some amazing flared legs to boot.
Part 1 Initial Body Trim and Basics
Part 2 How to start the peanut shape
Part 3 The top part of the Peanut and the ‘shell’. How to set the crest to blend into the Peanut
Part 4 Colouring and scissoring the rear leg to create the perfect flare
Part 5 The final chapter of the peanut head! Setting in a beveled foot, scissoring front flared legs and perfecting the tail.