
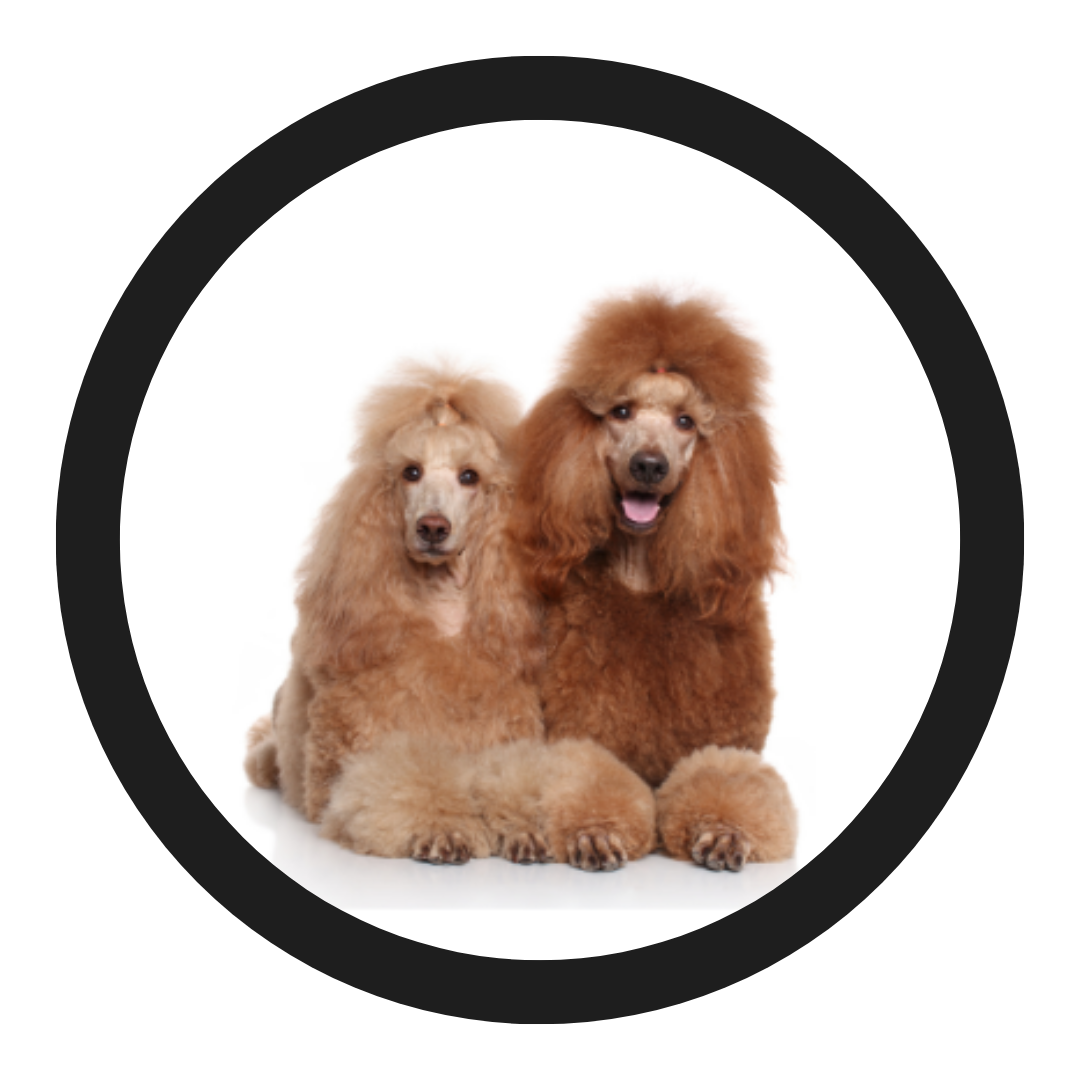
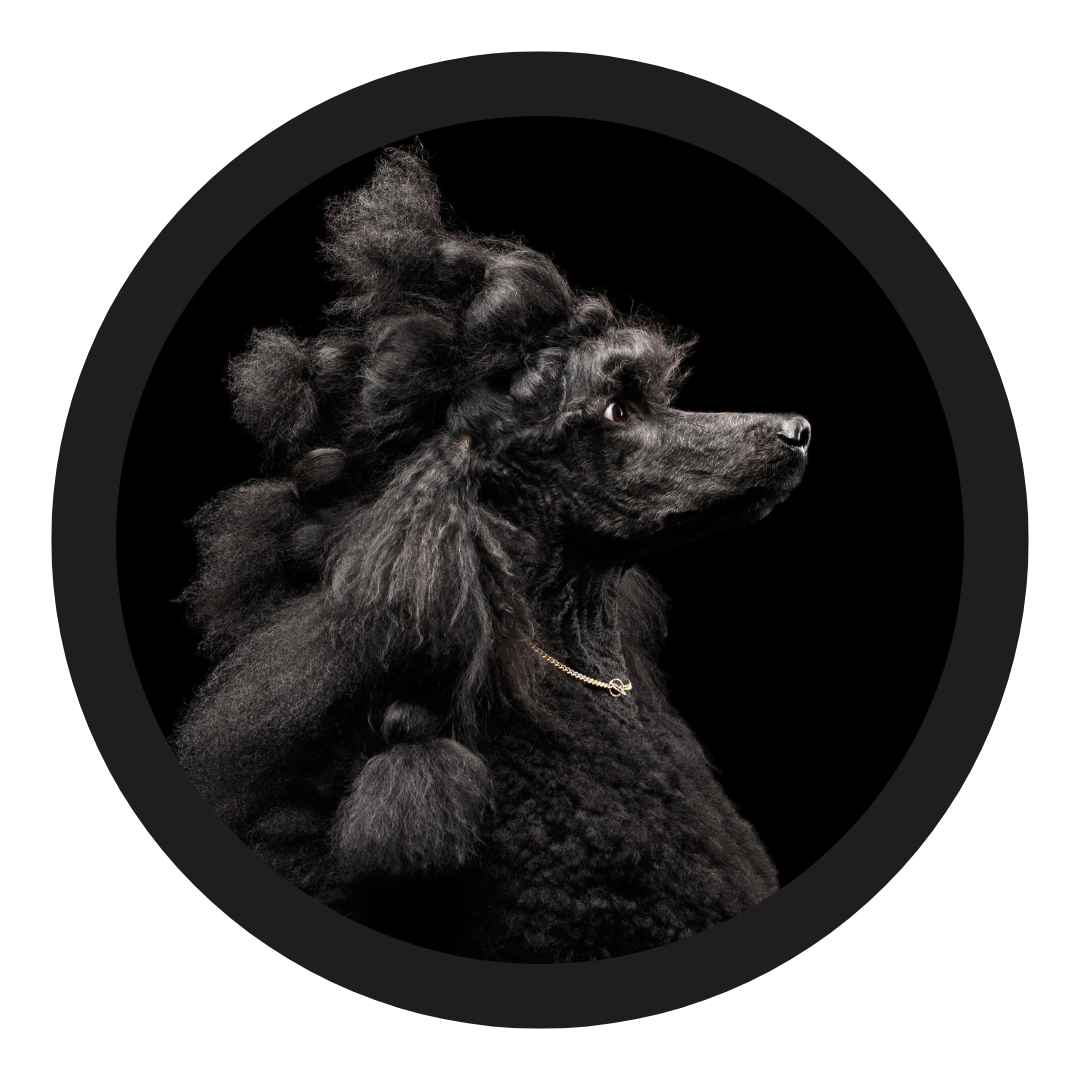
Standard Poodle
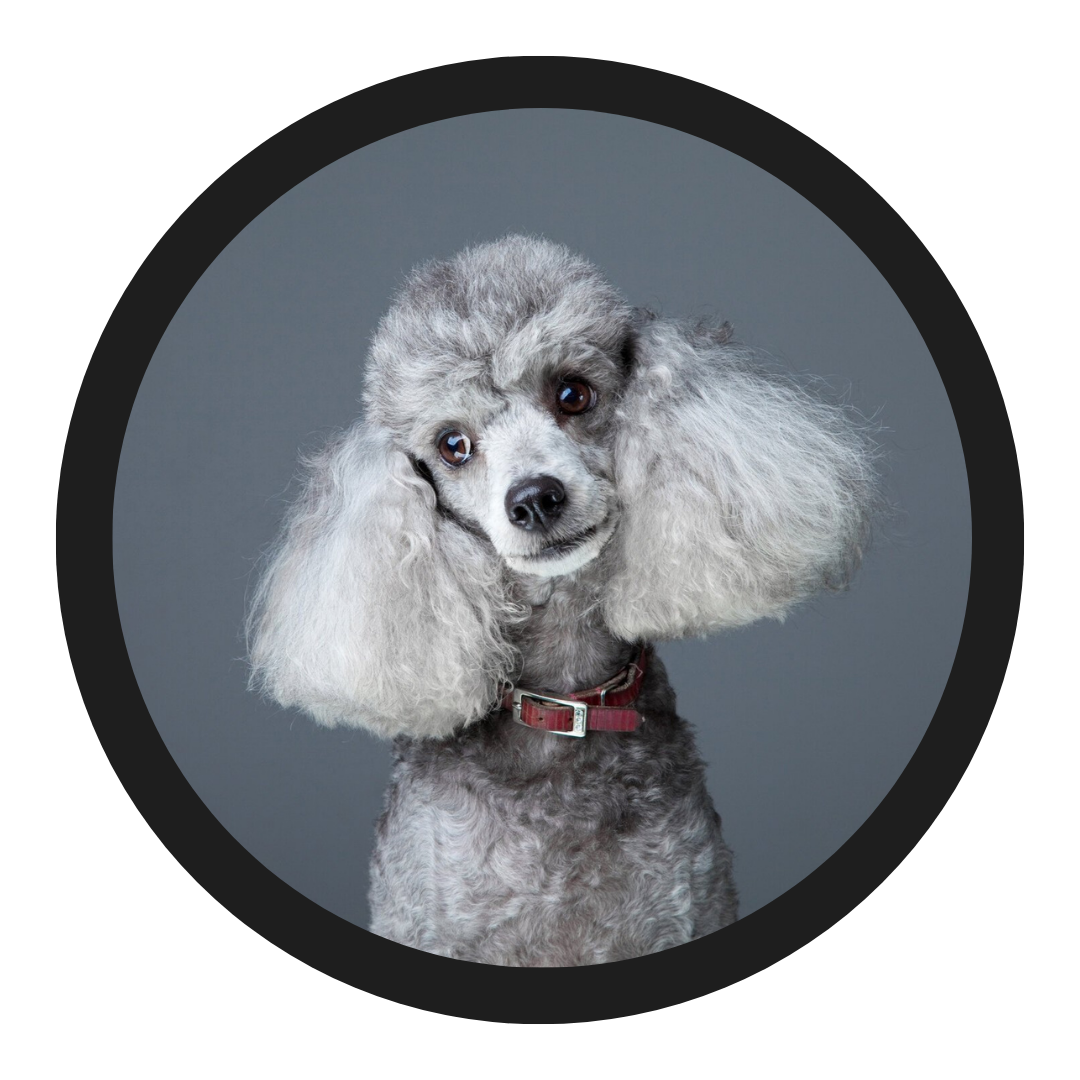
Brûlée
A full salon-style lamb trim on Brulee, a 2 year old Standard Poodle.
This tutorial walks through a practical pet lamb trim using a #3¾F blade on the body, a 22 mm attachment comb on the legs, classic poodle points on a #10, and a fully hand-scissored top knot and bevel.
It’s a balanced, owner-friendly trim that keeps structure and style without overcomplicating maintenance.
This tutorial is also available as a fastForward
Part 1 Body Clip and Lamb Outline
#3¾F body, clean neck, and pet-friendly shaping
In this section:
Using a #3¾F blade for an all-year, wearable length
Skimming from withers through rib cage for a smooth finish
Tightening the rear muscle for hygiene and outline
Creating a gentle neck slope without leaving a heavy crest
Cleaning chest and blending into the front assembly
Debulking legs with a 22 mm attachment comb before scissoring
The focus here is efficiency. The more shaping you achieve with your blade and comb, the cleaner and faster your scissor work becomes.
Part 2 Front Legs and Bevel
Setting structure before texture
This section covers:
Setting the bevel line just below the poodle foot
Creating a clean transition between shaved foot and leg
Building straight, parallel leg lines
Keeping hair tight between carpal pad and foot for hygiene
Using chunkers to soften and refine shape
Maintaining lift so the leg sits up off the ground
The goal is a neat column with subtle flare, not exaggerated show volume.
Part 3 Rear Legs, Hock Shape, and Tail Set
Balance, blend, and practical finishing
In this section:
Setting a clean rear bevel
Blending hock hair while keeping structure
Maintaining hygiene between the back legs without over-lowering
Softening transitions with curves and chunkers
Creating a simple salon tail band
Trimming the tail safely with awareness of the tailbone
This is a pet trim approach. It keeps character and shape without demanding show-level maintenance.
Part 4 Top Knot and Ears
Salon top knot with smooth neck transition
This section includes:
Clearing eyes at a 45° angle for visibility and hygiene
Aligning top knot with ear set and eye position
Building shape without creating an “egg” profile
Blending top knot into neck clipper work
Using chunkers to soften and balance symmetry
Tipping ears cleanly while respecting ear leather length
The aim is a rounded, balanced top knot that flows naturally into the neckline.
Quick links

Search igroomhub
All Pet Style Poodles
All Grooming Tutorials
View Advanced Poodles
Professional Dashboard
