

MASTERCLASS
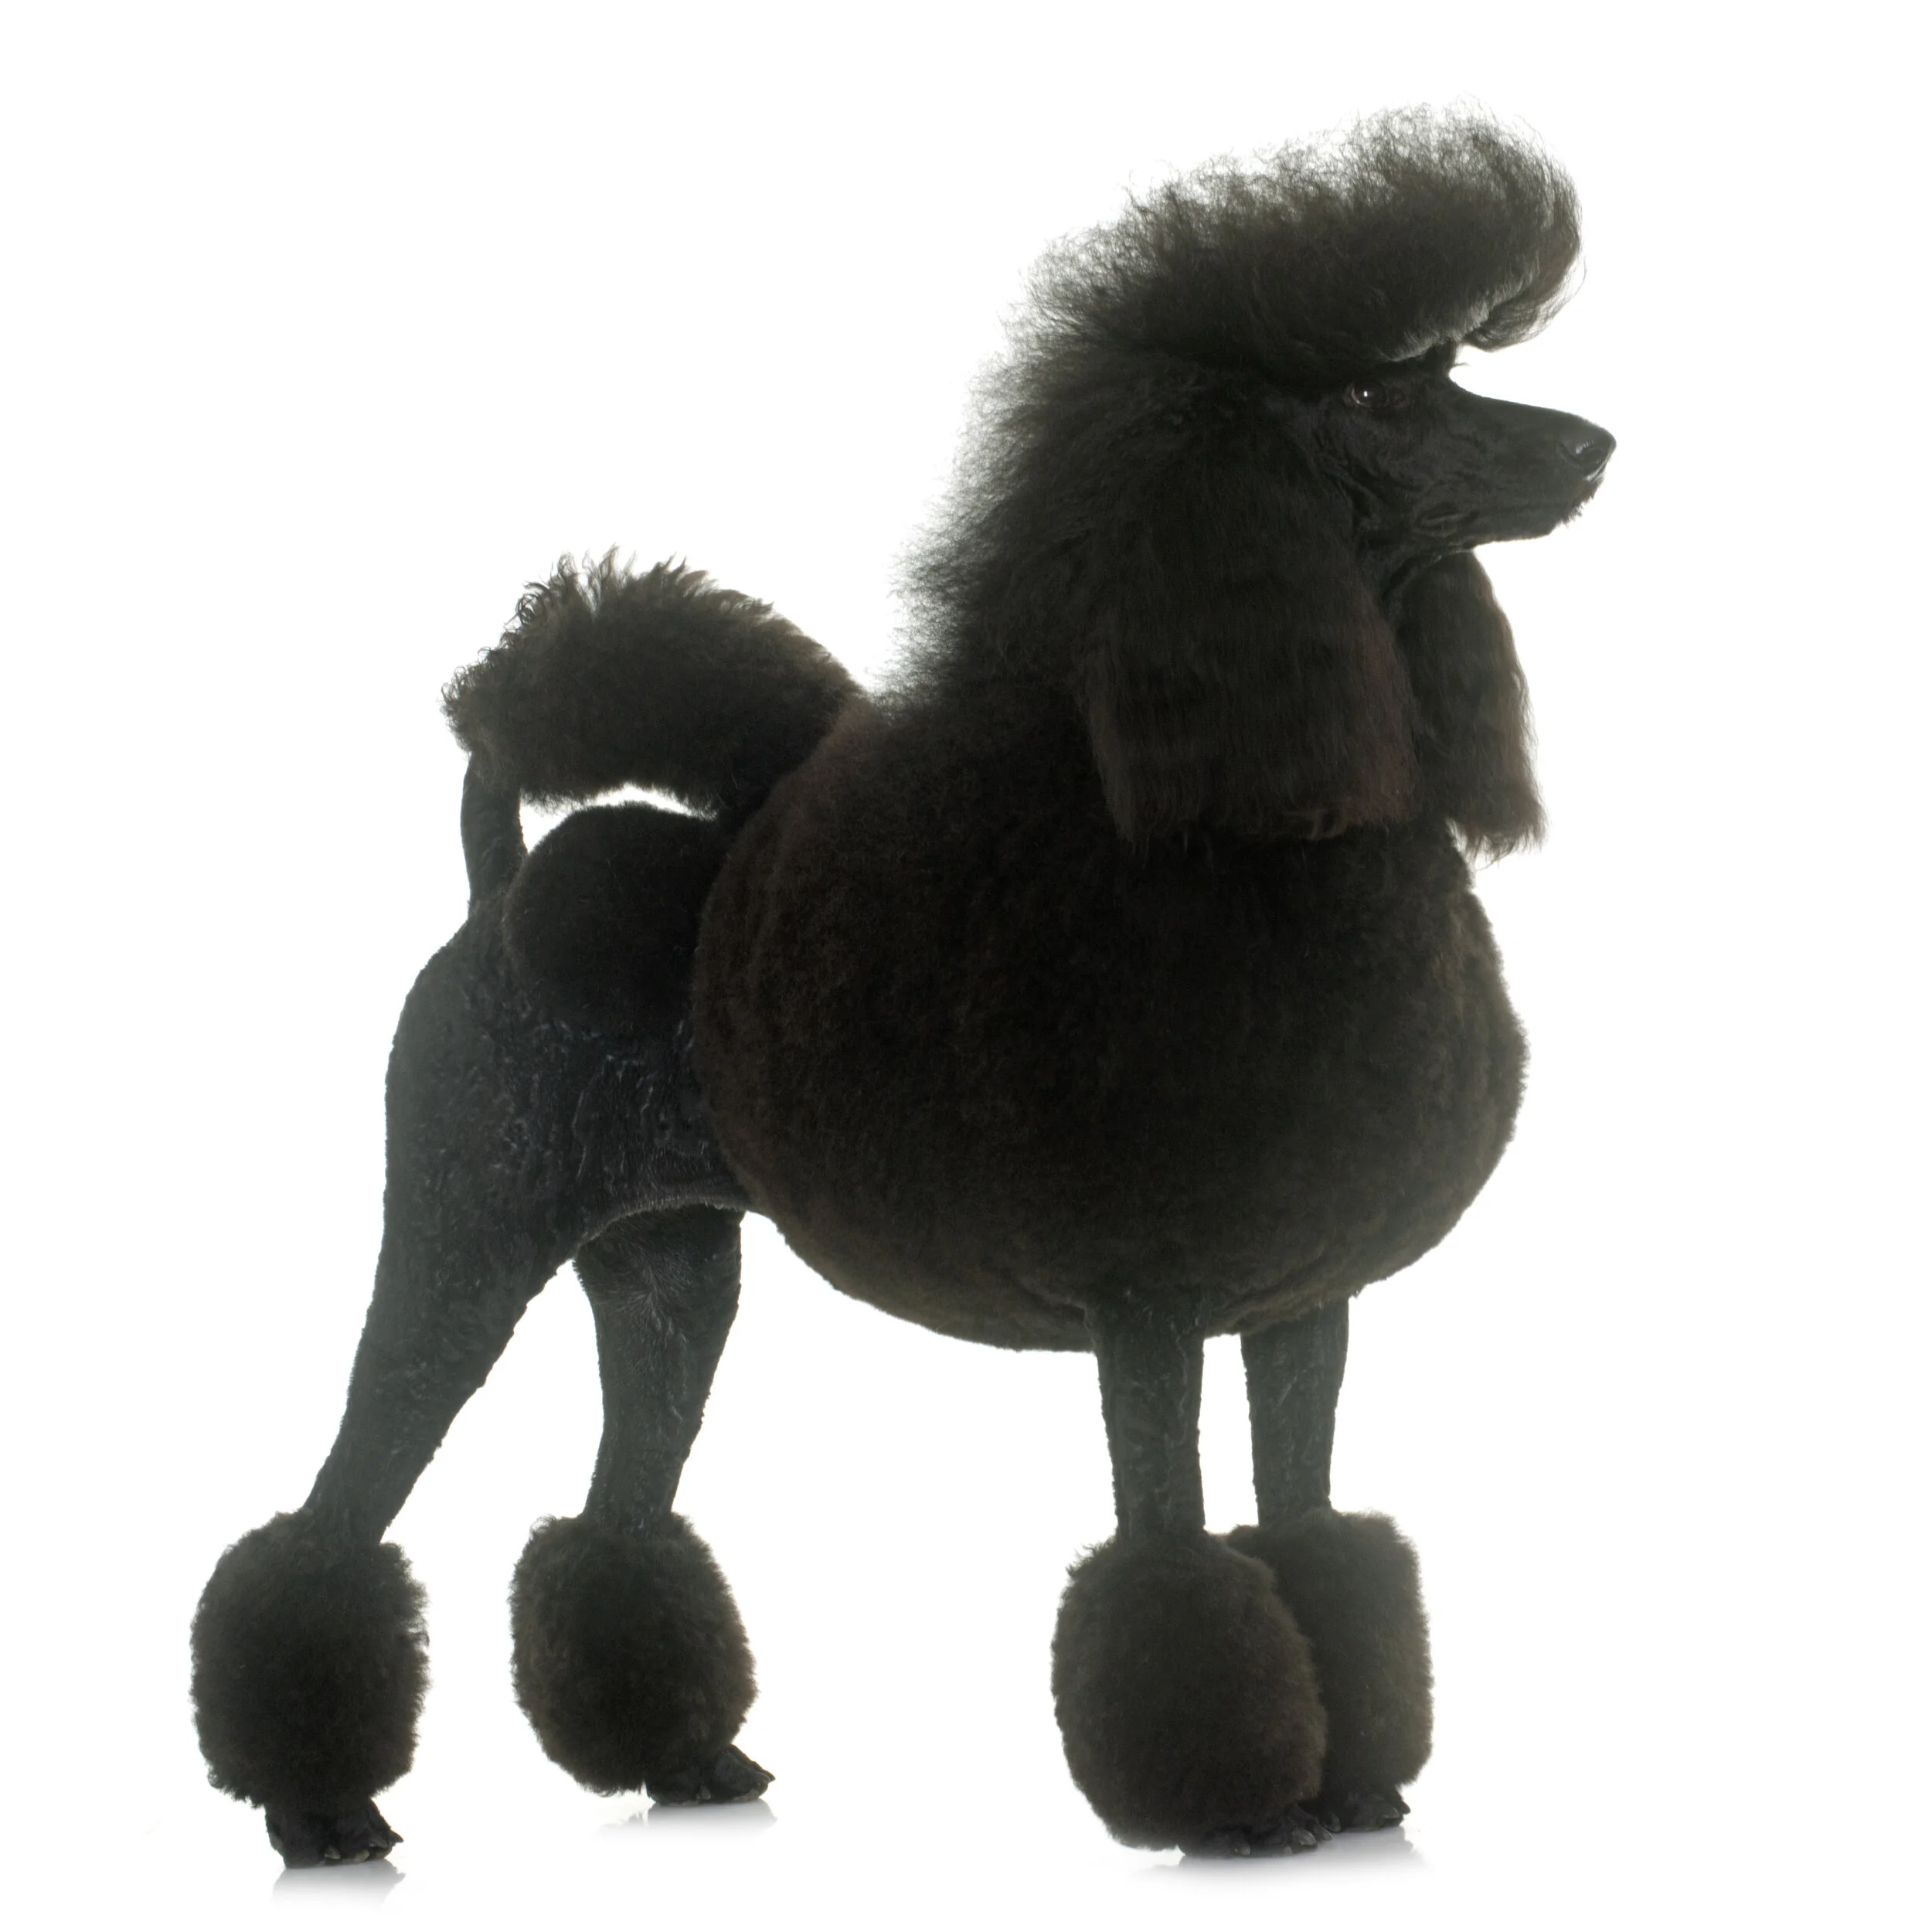
The Continental Trim
TIARNE PERKISS
YAAE
Tiarne takes eight-year-old Toy Poodle Yaae through the Continental Trim, from an overgrown starting point right through to the finished show dog.
What makes this tutorial particularly useful is seeing the groom develop rather than simply seeing the finished shapes. Tiarne deliberately leaves herself room to change things, moving between clipping and scissoring and repeatedly stepping back to assess Yaae as a whole. On a trim this technical, placement is everything, and a few millimetres on a Toy Poodle can completely change the picture.
EQUIPMENT: 5-in-1 Clippers, Vet wrap, Hair bands, Finishing comb, Tail comb, Hair spray, Slicker brush, Curved scissors, Straight scissors, Poodle pillow


Part 1 | Setting the foundations
Tiarne begins with Yaae’s face and feet before roughing in the Continental pattern. He’s considerably grown out, so rather than committing immediately to every line, she leaves herself coat to work with once she can see more of the finished shape.
It’s a useful look at the order behind the groom. The face, throat, feet and initial body clip begin establishing the framework, but the rosettes, bracelets and jacket aren’t locked in yet. Tiarne’s approach is very much clip, scissor, look again, then refine.
Part 2 | Banding Yaae’s top knot
Yaae gets his pillow out and Tiarne turns her attention to all that precious top-knot coat. She unwraps and prepares the hair before building his bubble and two rows of bands ready for the spray-up later.
This part also shows how individual banding really is. Coat length, density, breakage and the dog’s own proportions all influence the setup, and Tiarne adjusts Yaae’s bands to create the support and shape she wants rather than following a fixed formula.


Part 3 | Rosettes, jacket & finding the balance
Now the Continental starts appearing. Tiarne follows Yaae’s natural contours to begin shaping the rosettes, then moves into the chest and front before deciding exactly where his jacket needs to sit.
Rather than finishing one piece in isolation, she moves around the dog and lets each section inform the next. His construction, length of loin, chest, neck and overall proportions all affect where coat is left and where it comes off. Once she’s happy with the placement, those rough clipper lines from Part 1 can finally be sharpened and the rosettes brought into shape.
Part 4 | Building the bracelets
Before Tiarne commits to the clipper lines, she shapes Yaae’s bracelets from the feet upwards. The rear comes first, giving her a reference for the fronts and helping her keep the four shapes in proportion with one another.
There’s more going on here than making four fluffy poms. Tiarne uses the coat to complement Yaae’s construction and create the appearance of clean, balanced legs, checking the bracelets from different angles as she works rather than relying on how they look from the side alone.


Part 5 | The spray-up
With the main shapes established, Yaae is back on his pillow for the spray-up. Tiarne works gradually through the banded coat, building the fan layer by layer and allowing each section to support the next.
It looks fairly wild before it looks fabulous, which is rather reassuring. Tiarne keeps checking the placement as the spray-up develops, adjusting Yaae’s bubble and working with the amount and distribution of coat he has rather than trying to force it into position.
Part 6 | The whole picture
Once the spray-up is in, Tiarne finally has the complete silhouette in front of her and can make the finishing decisions she deliberately held back earlier. She refines the jacket into its teardrop shape, trims the top knot to suit Yaae’s proportions, and finishes his tail and ears.
This last stage brings the central lesson of the whole tutorial together: keep looking at the dog. Tiarne stacks Yaae, changes her viewing angle, steps away and reassesses rather than becoming buried in one section. She finishes with a look at preparing this trim for competition, where knowing your dog, knowing which areas take you longest and planning your workflow become part of the groom itself.
Breed Standard at Dogs Australia
Study Notes | Key Concepts
-
This trim requires careful clipping and scissoring to maintain balance.
Start by clipping the body and leave room to scissor in the bracelets and rosettes.
Use a #30 blade for show dogs but avoid going too low with clippers initially.
-
For show dogs, a #30 blade is typically used, while a #10 blade is recommended for pets to prevent irritation.
Start by clipping the face from the corner of the eye to the top of the ear, clearing the ear canal and ensuring neat lines.
For feet, clean pads thoroughly and avoid clipping into bracelets.
-
Scissoring rosettes involves following the natural contours of the dog.
The hardest part is setting the jacket and ensuring the gap between rosettes and the jacket is only a pinky's width.
For bracelets, always bevel the bottom before clipping, keeping even shapes to avoid making the dog look cow-hocked or sickle-hocked.
-
For top knots, part hair neatly and create tight bands to form a bubble shape.
Bands should be spaced no more than half a centimetre apart on small dogs.
Always cut bands out to avoid damaging the coat.
-
Condition the head and neck coat to protect the long hair. Use a wide-tooth comb for spray-up and work layer by layer.
Avoid combing the sections that have been sprayed to prevent stringy appearance.
-
For a fan effect, carefully spray sections and avoid overspray.
Afterward, use a soft brush to shape the top knot and trim only after the hairspray is fully set.
Balance the spray-up with the rest of the groom for a symmetrical, polished finish.
-
Achieving balance involves constantly checking the dog’s shape.
The widest part of the jacket should align with the centerline of the dog.
A Poodle should look elegant and not heavy; adjust the coat to maintain lightness and grace.
