

ASIAN FUSION
Bichon
MICHELLE WEBER
ROCKET
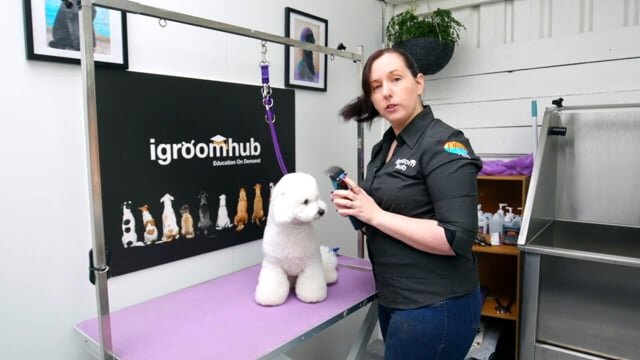
In this extended tutorial, Michelle takes Rocket through a full Asian Fusion groom, from body and legs right through to head styling, finishing, and competition presentation.
This tutorial is shown across multiple parts, allowing you to follow the groom step by step or dip into specific sections as needed. Michelle shares plenty of practical tips along the way, including time-saving choices, ways to balance structure, and how she adapts the groom for competition work.
Part 1
Michelle walks through setting the body on a dog with a finer coat, explaining how to choose an attachment that shows off the shoulder without losing the ability to create strong flared legs. She talks through where clipper work can be used confidently to speed things up, and where it’s better to leave coat for scissoring later. This section sets the foundation for balance, proportion, and an Asian Fusion outline that still feels soft and intentional.
Part 2
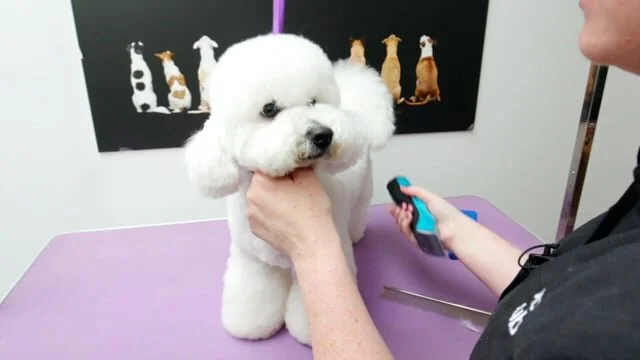
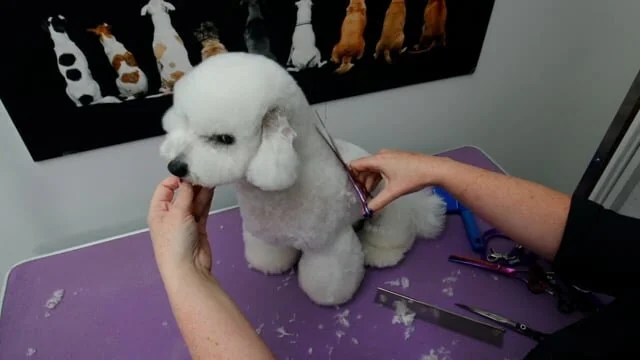
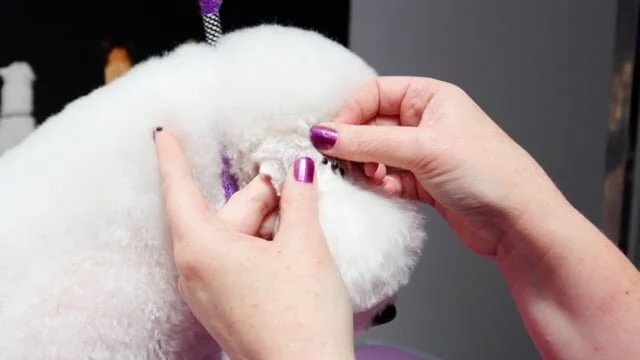
This section focuses on cutting in Bedlington-style ears using a #30 blade, with clear guidance on danger points and how to work safely around the ear leather. Michelle explains why blade choice matters here, and how to adjust if you’re working on a pet rather than a competition dog. She also demonstrates using reverse curved scissors and thinners to soften the face, refining the Bichon-style expression and finishing with a clean, smiley under-jaw.
Part 3
Michelle finishes shaping Rocket’s head by working above the Bedlington ears and across the top of the skull, blending into the crest. The focus here is expression, one of the defining features of Asian Fusion styling. She explains how brow placement, height, and flow affect the overall look, and why small adjustments at this stage can completely change how the face reads once the groom is finished.
Part 4
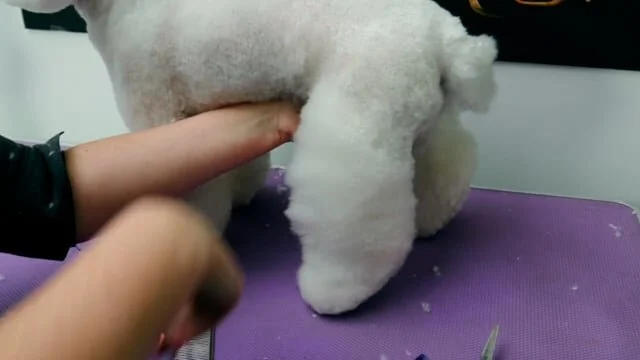
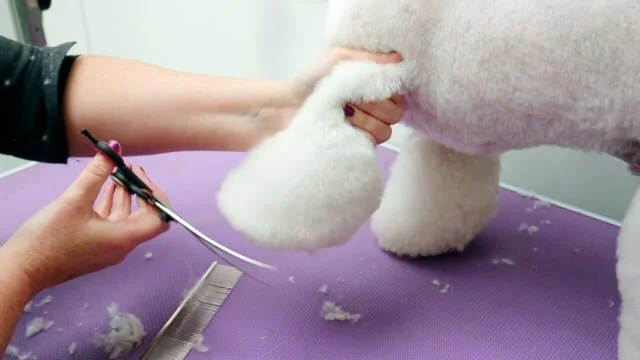
In this part, Michelle breaks down how to understand and set correct leg angles, including where exaggeration works and where it can quickly throw the groom out of balance. She explains where to scissor tight for definition, where to leave length for flare, and how to shape the leg so it looks strong, clean, and intentional from every angle.
Part 5
The focus shifts to the front legs, where Michelle demonstrates scissoring in a larger flare while carefully setting the top line and shaping the foot. She talks through maintaining proportion, avoiding heavy or boxy legs, and creating smooth transitions from body to leg. This section ties the overall style together and reinforces how small adjustments make a big visual difference.
Part 6
Time for the fun finishing touches. Michelle shows how to add rhinestones safely using eyelash glue, explains how long they typically last, and shares tips for placement so they enhance the groom rather than distract from it. She also covers final checks and presentation, making sure Rocket is ready to step off the table looking polished and complete.
Study Notes | Key Concepts
-
Use a #3 attachment comb with a #30 blade for even body length, starting at the withers and moving back.
Prep areas like the groin, pads, and coat with thorough brushing for a smooth, groomed look.
-
Avoid dips by clipping strategically to create a balanced top line.
Blend the coat in a scooping motion to maintain the signature flare, typical of Asian Fusion styling.
-
Use a #30 blade around the eyes for a clean look, but consider a #10 or #15 blade for sensitive or new pets.
Style the Bedlington-inspired ears in a V-shape, ideal for cleanliness and a cute appearance.
-
Shape the muzzle tightly, with a clear smile line and minimal hair around the mouth.
Check the cheekbone line from mouth to ear for symmetry, using straight shears for a crisp, clean line
-
Create a round “Mushroom Head” look by shaping from the collar line up, blending smoothly into the neck.
Use volumising spray to add body and create a polished finish.
-
Use a beveling technique to create cylindrical legs with rounded feet.
Tighten areas around the hock for balance, ensuring a pronounced flare from shoulder to elbow.
-
Blend the neck and shoulders into the body, ensuring no visible lines.
For the tail, use a rounded, fan shape for a balanced, fluffy finish.
QUICK LINKS
All Asian Fusion Tutorials

Search igroomhub

Directory Page | The Groomerverse
Professional Dashboard
