

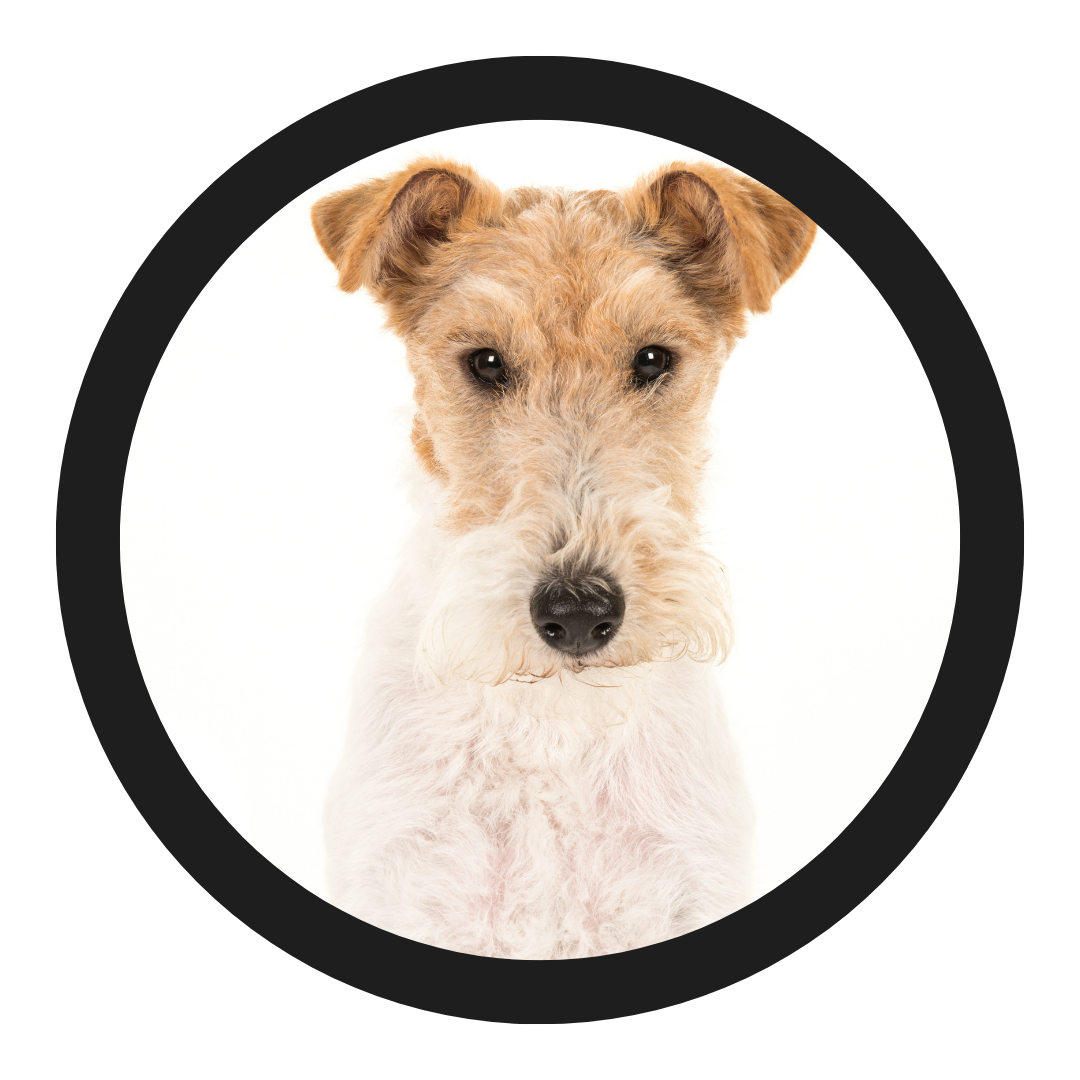
West Highland White Terrier
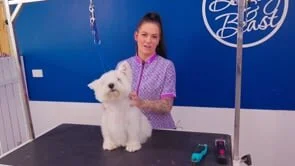
POPPY
Poppy is a much loved pet and is having a #6F wide blade trim. This demonstration by Alicia showcases a pet style trim on a Westie with an optional spray up on the head at the end for a sleek finish.
PART 1 Setting the clipper lines on a Westie. Alicia uses clippers to blend and smooth transition lines. Poppy has been pre-bathed and dried and is ready for her clip.
PART 2 The tailset on a Westie using a carrot as an example. Blending and shaping the transitions lines will help to shape and style this fabulous Westie trim.
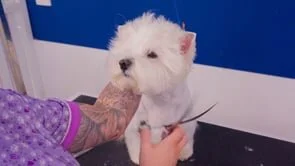
PART 3 Setting in the head. Poppy has sore ears and not a lot of ear coverage. Alicia sets the head in, working with what she has. Tune in to the end to see a spray up version of the Westie head.

Study Notes | Key Concepts
-
#6 wide blade used (#4 blade preferred for traditional Westie trims).
Clipped down back, leaving enough coat to form a proper carrot tail.
Flick and stretch skin to blend body into furnishings and avoid harsh clipper lines.
Transition lines set from elbow down, ribs out to skirt, maintaining correct silhouette.
-
Carrot shape: thicker at base, tapering to tip.
Tip rounded, sides tapered with scissors, under-tail clipped short.
-
Rear feet: very tight, smaller than front per breed standard.
Front feet: tighter but cylindrical, avoiding tapering at pasterns.
Legs shaped into cylinders: comb down and trim evenly without narrowing at joints.
-
Skirt angles from higher at back down to front legs.
Carding knives recommended to remove dead undercoat and improve clipper finish.
Strip or card after clipping to better blend transition areas and reduce clipper lines.
-
Ear tips clipped only at very tip using shortest blade.
Semi-circle cut from nose to ear tip, using curves or straight scissors.
No shaving over eyes; maintain cheeky look by thinning front eye hair.
Ears should be the highest point – remove any hair taller than ear tips.
-
Spraying up in layers with dog-safe hairspray (Plush Puppy Hold).
Round shaping with scissors after spray sets.
Light chalking to enhance clean, white appearance for competition finishes.
HAMISH
Chuckie Lund takes us through a breed specific groom on a West Highland White Terrier. This is not a full show or competition groom, but a very upmarket pet trim, and looks like the real deal encompassing both carding and clipping techniques. Carding a coat like this before clipping has many advantages - Chuckie shows us how!
PART 1 Setting in the body using clippers
PART 2 Setting in the legs and skirt with texturisers and blenders.
PART 3 The head study.

HEAD STUDY
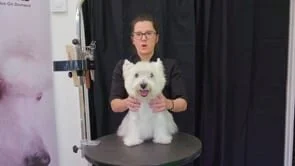
Nicky completes a Westie pet trim head to match with a pre-clipped body. She uses a layering technique to achieve a cleaner finish on what is typically a rougher looking cut.
Basic head study on a pet trim Westie
FULL PET TRIM
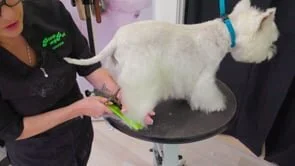
Nicky performs a pet trim on a Westie, using attachment combs to clip in the body. She also shares a handy tip to help finesse the blend line.
Nicky details the lines and techniques to utilise when completing a Westie head.
Nicky completes the West Highland Terrier groom by scissoring the legs, skirt and tail.
Quick links

Search igroomhub
All Pet Style Terriers
All Grooming Tutorials

View Advanced Terriers

Dashboard
