How (and Why) to Clean Your Dog Grooming Tools at Home

A DIY dog grooming guide that keeps your pup safe and your tools in top shape
Thinking about grooming your dog at home? Whether you're trimming nails, brushing out tangles, or doing a full bath and tidy, there's one thing that often gets overlooked: cleaning your tools.
We get it. You're focused on the dog. But dirty brushes, clippers, and scissors don't just get gross—they can actually spread bacteria, irritate your dog's skin, and damage your tools over time. In fact, regular tool maintenance is one of the first things taught in professional grooming courses, and for good reason.
The good news? Keeping things clean doesn't take long, and it makes a huge difference in how your tools perform—and how your dog feels during grooming.
Why Does Cleaning Your Grooming Tools Matter?
You wouldn't brush your own hair with a dirty, oily comb—or clip your nails with a rusty pair of trimmers. Same goes for your dog.
Here's what’s really at stake when you skip tool cleaning:
Health and Hygiene
Used tools can harbour hair, skin oils, dirt, and even bacteria or fungus. That buildup can lead to skin irritation or infection—especially if your dog has sensitive skin or small nicks and scratches.
Comfort
Dirty tools tug. Dull blades pull. Gritty brushes scratch. Clean, sharp tools glide smoothly and make grooming a calmer, more pleasant experience for your dog (and you).
Tool Performance
Hair and grime clog clipper blades, blunt scissors, and jam combs. Cleaning your tools keeps them working the way they should—saving you time and frustration.
Longer Tool Life
Quality grooming tools aren’t cheap. But with basic care and regular cleaning, they’ll last you years. Skip maintenance, and you’ll be replacing things much sooner than you’d like.
The Basic Kit: What You Need to Keep Clean
Most home groomers use a handful of key tools. Here’s what you’ll need to clean regularly:
Brushes and combs
Clippers and clipper blades
Nail clippers
Grooming scissors
Towels and restraints (like grooming loops)
Let’s walk through how to clean each one properly.
Brushes and Combs

How to Clean:
Remove hair: Use a comb, your fingers, or a cleaning rake to pull out trapped hair.
Wash: Soak in warm, soapy water (a little dog shampoo works well). Swish around to loosen dirt.
Scrub: Use an old toothbrush to clean between the teeth or bristles.
Rinse: Thoroughly rinse off any soap.
Dry: Shake off water and air dry completely before storing. Use a towel or even your high-velocity dryer if you have one.
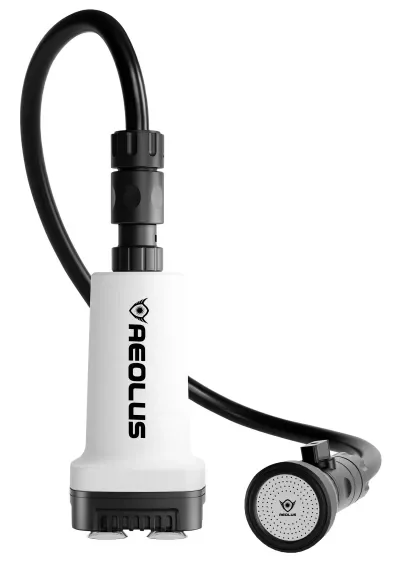
Clippers and Blades

How to Clean:
Unplug and disassemble: Safety first. Remove the blade if your clippers allow.
Brush off hair: Use a small cleaning brush (or old toothbrush) to remove all visible hair.
Disinfect: Spray a blade disinfectant or use a clipper-specific cleaning solution. Let it sit for the recommended time.
Oil: Add a drop or two of clipper oil to the blade teeth.
Run briefly: Turn the clippers on for a few seconds to distribute the oil.
Wipe excess: Gently wipe the blade clean.
Pro Tip: Never soak clipper blades in water—they’ll rust.
Nail Clippers

How to Clean:
Wipe down: Remove loose dirt with a damp cloth.
Wash: Soak in warm, soapy water and scrub with a brush.
Rinse: Under running water.
Dry thoroughly: Use a towel or leave to air dry.
Disinfect: You can soak the blades in diluted rubbing alcohol or pet-safe disinfectant for 10 minutes. Rinse and dry again.
Add a drop of oil if your clippers feel stiff.
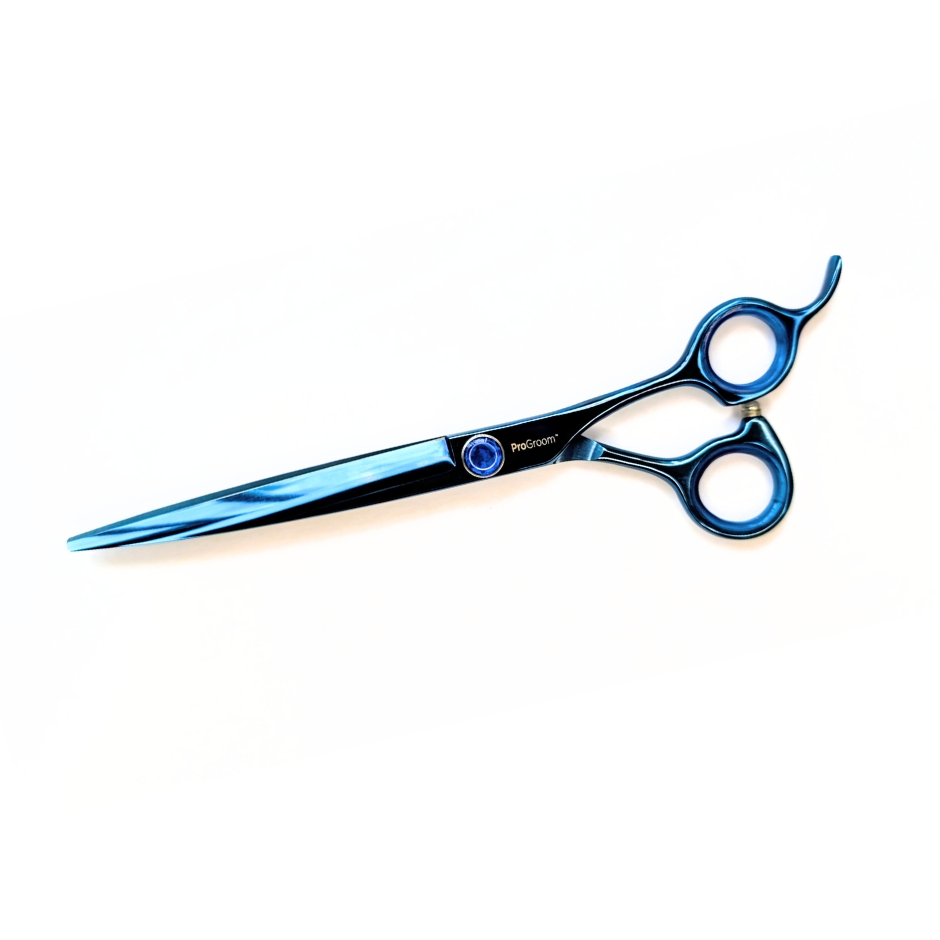
Grooming Scissors
How to Clean:
Wipe away hair and dirt.
Wash blades: Use a damp cloth and mild soap to clean. Avoid soaking.
Dry completely.
Disinfect: Wipe with rubbing alcohol if needed.
Oil: Apply a drop of scissor oil to the pivot.
Store safely: Keep scissors in a dry case to protect the blades.
Cleaning Restraints and Fabric Items
Slip leads, grooming loops: Hand wash or soak in pet-safe disinfectant.
Towels and blankets: Wash regularly in hot water with pet-safe detergent.
Dryer filters: Don’t forget to clean or replace them. Hair buildup affects performance.
Cleaning Routine for Home Groomers
Here’s a simple schedule to stick to:
After every groom:
Remove hair from tools
Wash brushes and combs
Wipe down nail clippers and scissors
Clean and oil clipper blades
Once a week:
Disinfect all tools
Wash grooming restraints
Check clipper and scissor sharpness
Monthly:
Deep clean your grooming area
Inspect tools for wear or damage
Common Mistakes to Avoid
Skipping oiling: Oiling blades and scissors keeps them working and prevents rust.
Using bleach or harsh chemicals: These can damage your tools and irritate your dog's skin.
Storing tools wet: Always dry thoroughly to avoid rust or mould.
Sharing tools between pets: If you groom more than one dog, clean between uses to avoid cross-contamination.
Want More Guidance?
Our DIY Grooming Course walks you through every part of the grooming process, including how to clean and care for your tools like a pro. If you’re ready to take better care of your dog at home (and skip the salon), it’s the perfect next step.
Final Thought: Clean Tools = Happy Dogs
Keeping your grooming tools clean isn’t just a nice-to-have. It keeps your dog safer, your tools working better, and your whole grooming routine more enjoyable. Once you get into the habit, it takes no time at all—and your dog will thank you for it.
Need help figuring out where to start? We’re here. Check out our DIY Grooming resources and let’s make grooming at home easier, safer, and way less messy.
SHOP TOOLS AT THE IGH GROOMERS STORE